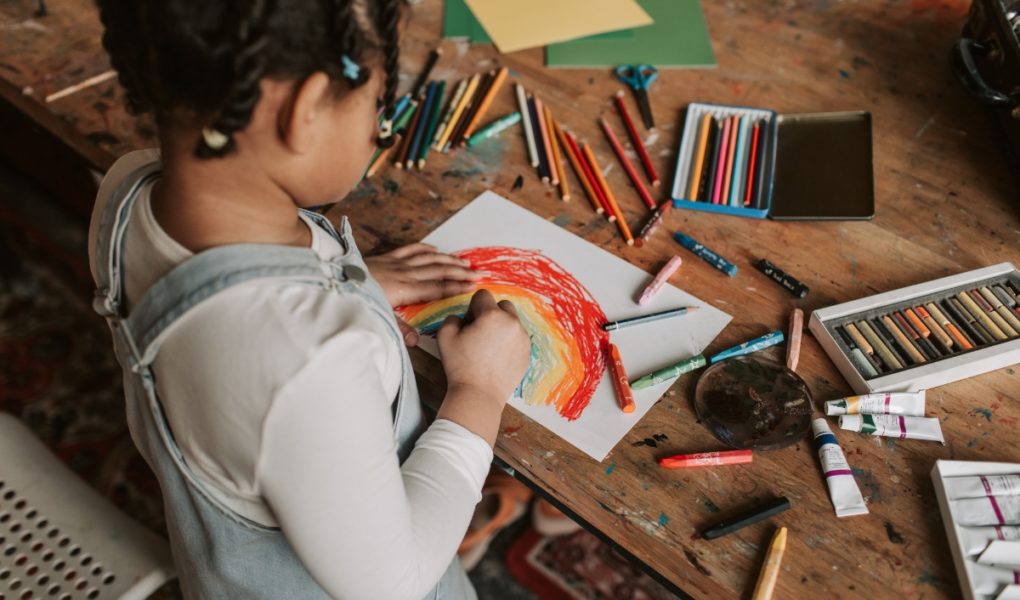
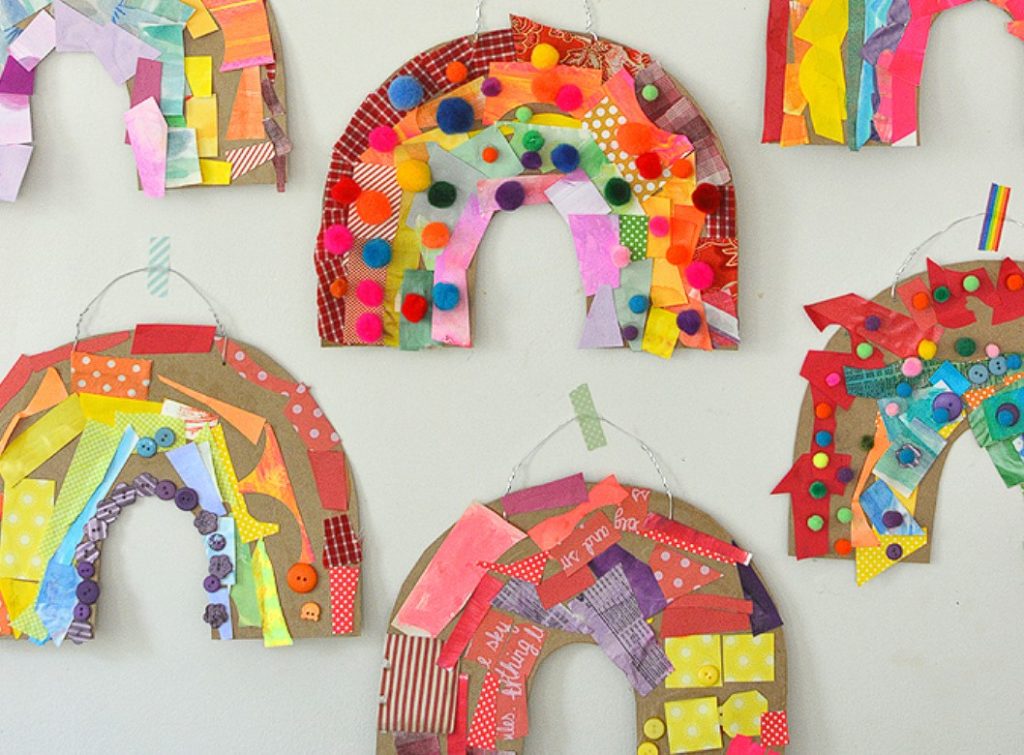
Artistic expression comes in many forms, including the collage—an assemblage of different materials glued onto a single surface. A rainbow collage takes this creative endeavor to the next level by incorporating the seven colors of the rainbow into one cohesive work of art.
Not only does it provide an opportunity to experiment with colors, but it also adds a vibrant, eye-catching appeal to any room or gallery. In this article, we’ll walk you through the steps to create your rainbow collage, from gathering materials to finalizing your masterpiece.
Materials Needed for the Project
- White Poster Board or Canvas: Serves as the backdrop for your collage, offering a neutral surface that makes the colors pop.
- Magazines, Newspapers, or Colored Paper: These are your primary sources for the colorful elements in the collage. They provide a wide range of hues and textures to choose from.
- Scissors: Necessary for cutting out shapes or images from your chosen materials, allowing you to customize your collage’s design.
- Glue or Mod Podge: These adhesives secure the various elements to your base. The glue offers essential adherence, while Mod Podge provides adhesion and a protective sealant.
- Paintbrush (for Mod Podge): Used for applying Mod Podge in a smooth, even layer, ensuring a polished look and more vital adherence to collage pieces.
- Ruler: Helps you cut straight lines and measure layout spacing, contributing to a more organized and proportional final piece.
- Pencil: Useful for sketching out your initial design on the poster board, guiding the placement of collage elements.
- Optional: Stickers, Markers, or Other Embellishments: These add flair and personal touches to your collage, making it more intricate and unique.
How to Choose the Right Glue?
Selecting the right adhesive is crucial for the longevity and appearance of your collage. Here are some points to consider:
- Purpose: Standard white craft glue, like a school project, will suffice if the collage is temporary. For something more permanent, consider stronger adhesives.
- Material Compatibility: Ensure the glue you choose works well with your materials. For example, fabric may require fabric glue, while paper usually adheres well with white glue or Mod Podge.
- Finish: Some glues dry clear, while others might leave a residue. If you’re aiming for a professional look, opt for a glue that dries clear.
- Application: Some adhesives come in easy-to-use formats like glue sticks, which may be more suitable for children, whereas others may require a brush.
Step-by-Step Guide
Step 1: Plan Your Design
Before you start, you must have a rough idea of what you want your collage to look like. Decide on the dimensions, the arrangement of colors, and any patterns or themes you want to incorporate. A simple sketch can help guide your efforts.
Step 2: Prepare the Base
Start by preparing your white poster board or canvas. If it’s not the size you want, trim it down using scissors and a ruler to guide you. This will serve as the background for your collage.
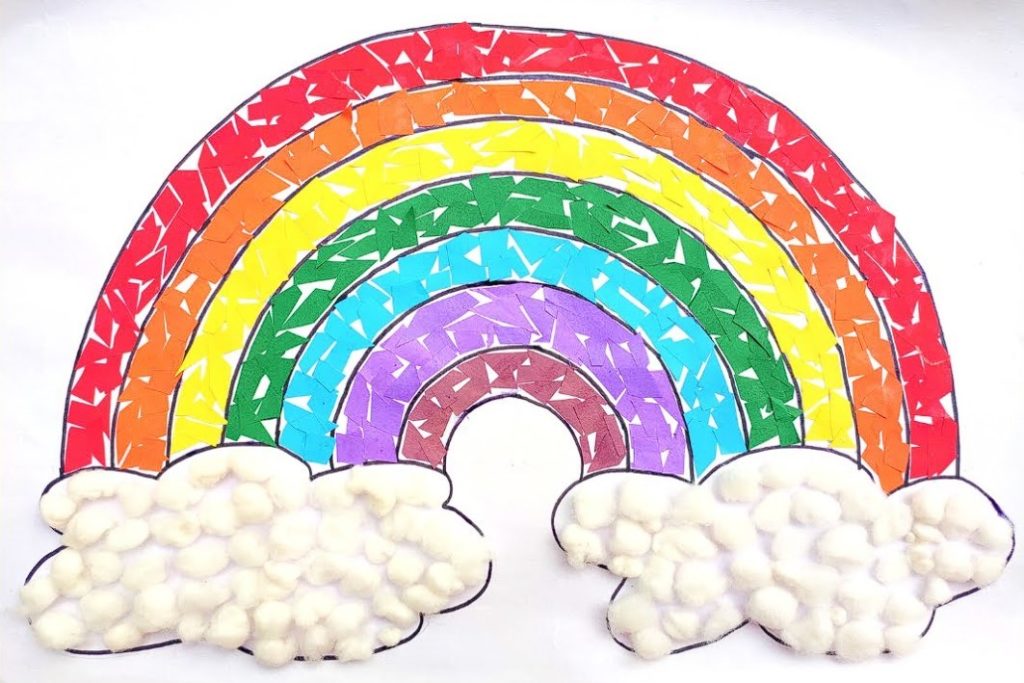
Step 3: Sort Materials by Color
Collect a variety of magazines, newspapers, and colored papers. Then, sort them according to the rainbow colors: red, orange, yellow, green, blue, indigo, and violet. The more shades you have, the more visually interesting your collage will be.
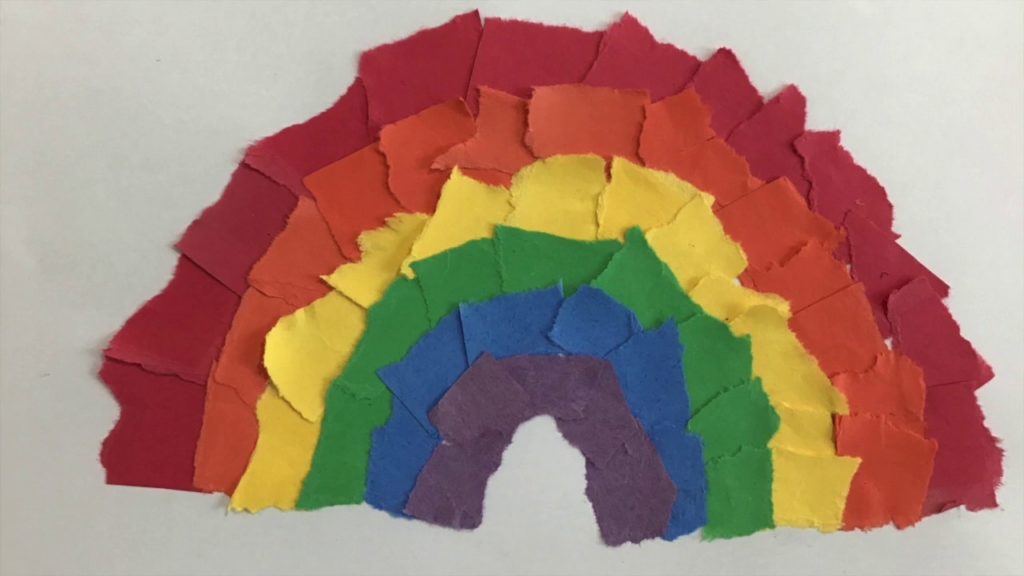
Step 4: Cut Out Pieces
Once your materials are sorted, cut out pieces in various shapes and sizes. You could opt for geometric shapes, abstract forms, or even specific objects related to each color.
Step 5: Lay Out Your Design
Start laying out the cut pieces onto the poster board according to your sketch without gluing anything. Begin with one color and progress through the rainbow spectrum. Make any adjustments as you go along.
Step 6: Start Gluing
You can start the gluing process once you’re satisfied with the layout. Take a paintbrush and lightly coat the back of each piece with glue or Mod Podge, then stick it onto the board. Continue this process for each color, ensuring the layout is intact.
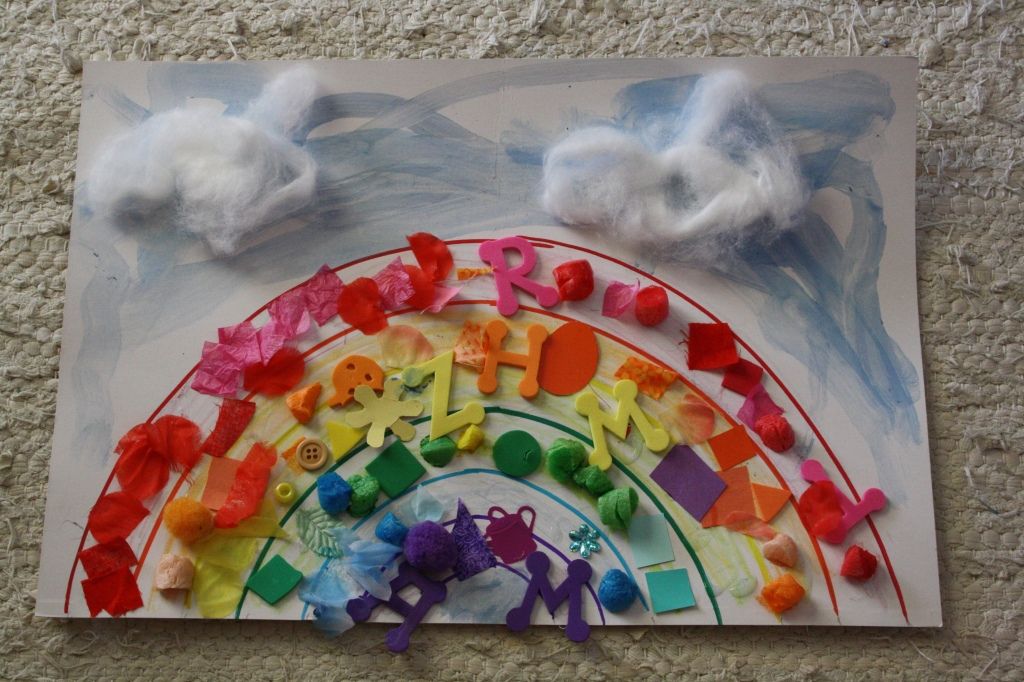
Step 7: Add Embellishments
After all the pieces are glued, add embellishments like stickers or hand-drawn elements with markers to enhance the design. However, make sure these additions don’t overshadow the rainbow theme.
Step 8: Final Touches
Once the glue is dry, your rainbow collage is almost complete. Consider adding a final clear coat for a glossy finish if you used Mod Podge. This will make it look professional and add a layer of protection.
Frequently Asked Questions
You can print digital images and include them in your collage. Ensure the print quality and the colors are vibrant to maintain the rainbow theme.
While using all seven colors will give you a full rainbow effect, you’re free to get creative. You can opt for a more minimalistic look using a spectrum subset.
After your collage is complete and the glue is dry, you can add a final layer of clear sealant like Mod Podge or even frame the artwork behind glass to protect it from dust and wear.
How to Display My Finished Collage?
Once your collage is complete, displaying it effectively is the next step. By thoughtfully considering the following aspects, you’ll ensure that your rainbow collage looks good and captures attention in the best way possible.
Framing
Framing your collage serves a dual purpose: it enhances its visual appeal and provides a layer of protection.
A frame accentuates the colors and composition, making it a more cohesive piece of art. Choose a frame that complements the colors and themes within your collage for the best effect.
Location
The spot where you display your collage can significantly affect its perception. High-traffic areas like living rooms or hallways are ideal for showcasing your artwork, ensuring it gets the attention it deserves.
Take into account the existing decor and color scheme of the room to find the most complementary location.
Lighting
Good lighting can bring out your collage’s vibrant colors and intricate details. Place your collage in a location that receives ample natural light, if possible. Alternatively, consider adding artificial lighting, like spotlights or frame-mounted lights, to illuminate your piece best.
Attachment
How you attach or mount your collage depends on its size and weight and the surface where it will be displayed. For lighter pieces, simple picture hooks may suffice.
However, more robust wall fixtures may be necessary for heavier or larger collages to ensure stability and safety. Always make sure to use the appropriate hanging mechanisms for your specific piece.