Modelling clay is a versatile medium for artists and hobbyists, offering a tactile and creative outlet.
This malleable substance has been the cornerstone of many art forms, from intricate sculptures to simple shapes. This article aims to introduce you to some easy and effective modelling clay recipes that you can make at home, offering options for both oil-based and water-based clays.
What is Modelling Clay Used For?

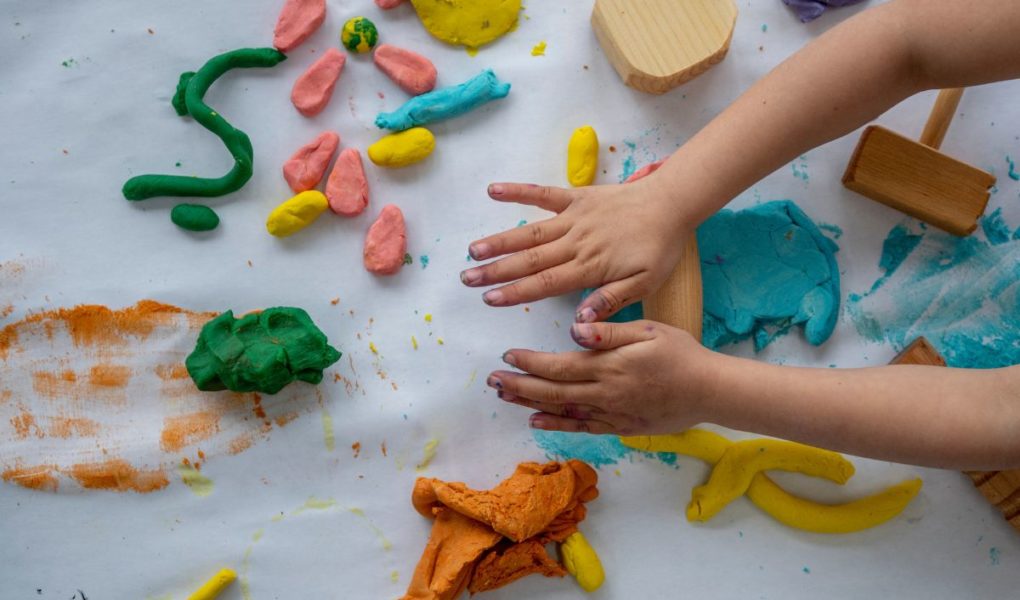
This section could explore the various applications and purposes of modelling clay. From educational benefits for children to artistic projects for adults, this versatile medium serves many uses. You can also delve into how different types of clay are better suited for specific tasks, like sculpture, molding, or even animation.
Is Modelling Clay Safe
Safety is often a concern, especially for parents and educators. This section could cover how homemade and commercial modelling clays are generally formulated to be non-toxic. It could also offer precautions to take, like adult supervision for younger children, to ensure a safe and enjoyable experience.
Oil-Based Modelling Clay: The Long-Lasting Choice
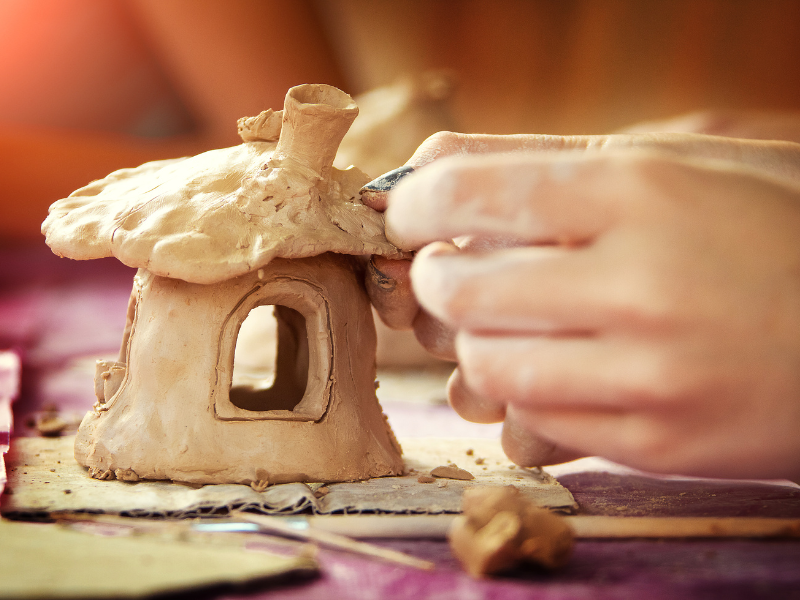
If you’re embarking on a project that you know will span several days or weeks, oil-based modelling clay could be your best option.
With its soft and pliable nature, this clay remains workable for extended periods, allowing you to revisit and revise your creations without fearing the material hardening. It’s ideal for detailed projects that require time and precision.
Ingredients
- 1 cup of flour
- 1/2 cup of salt
- 1/2 cup of water
- 1 tablespoon of vegetable oil
Instructions
- In a large bowl, combine the flour and salt.
- Add the vegetable oil to the mixture.
- Gradually add water while stirring until you reach a dough-like consistency.
- Knead the dough for about 5 minutes to make it smooth.
- Your oil-based modelling clay is now ready for use. Store it in an airtight container to keep it soft for future projects.
Advantages
- Long-Lasting: Stays soft and pliable for an extended period, making it ideal for projects that require time.
- Easily Remoldable: Allows for continuous revision and fine-tuning of your creation.
- Cost-Effective: Ingredients are household staples, making it an affordable option.
- Non-toxic: Generally safe for use, especially when made with kitchen ingredients.
Disadvantages
- Not Permanent: Cannot be baked or hardened for permanent creations.
- May Stain: The oils can potentially leave marks on some surfaces.
- Limited Textural Variety: It doesn’t offer the same range of textures as some other types of clay.
Water-Based Modelling Clay: The Painter’s Paradise
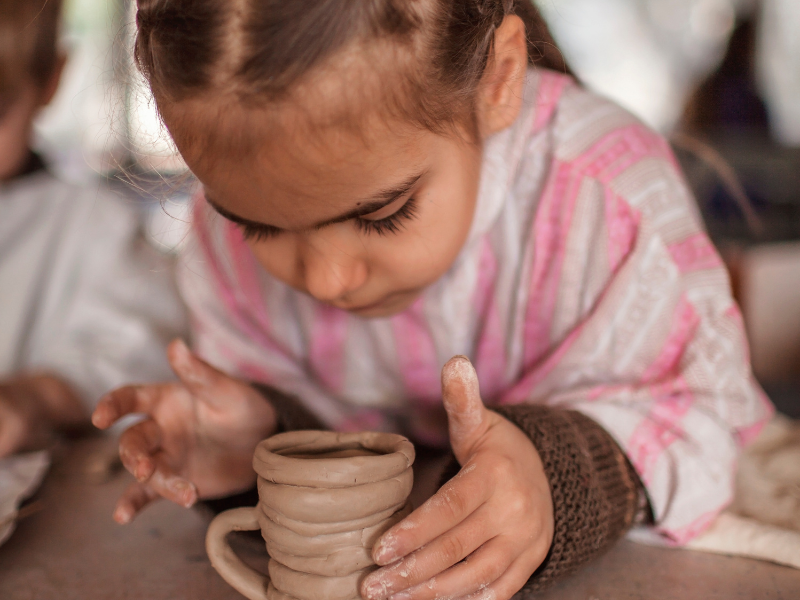
Water-based modelling clay offers a distinct advantage for artists who like to add color to their creations. Once you’ve sculpted your masterpiece, this clay will dry hard, providing a perfect canvas for painting. This makes it an excellent choice for decorative items or crafts you intend to display.
Ingredients
- 1 cup of cornstarch
- 2 cups of baking soda
- 1 1/4 cups of cold water
Instructions
- Combine cornstarch and baking soda in a saucepan.
- Add cold water to the mixture and stir.
- Cook the mixture over low heat, stirring constantly until it thickens into a dough-like texture.
- Remove from heat and let it cool before kneading.
- Once cool, knead until smooth. Your water-based modelling clay is ready to use.
Advantages
- Paintable: Dries hard, providing an excellent surface for painting.
- Eco-Friendly: Made from biodegradable ingredients.
- Easily Shaped: Soft and easy to mold when wet, allowing for intricate details.
- Quick Drying: Great for projects that you want to complete quickly.
Disadvantages
- Drying Time: It may crack if dried too quickly.
- Short Shelf-Life: Must be used quickly before it dries out, even when stored.
- Brittleness: Once dried, it can be quite fragile and prone to breaking.
Edible Modelling Clay: Fun and Flavorful Creativity
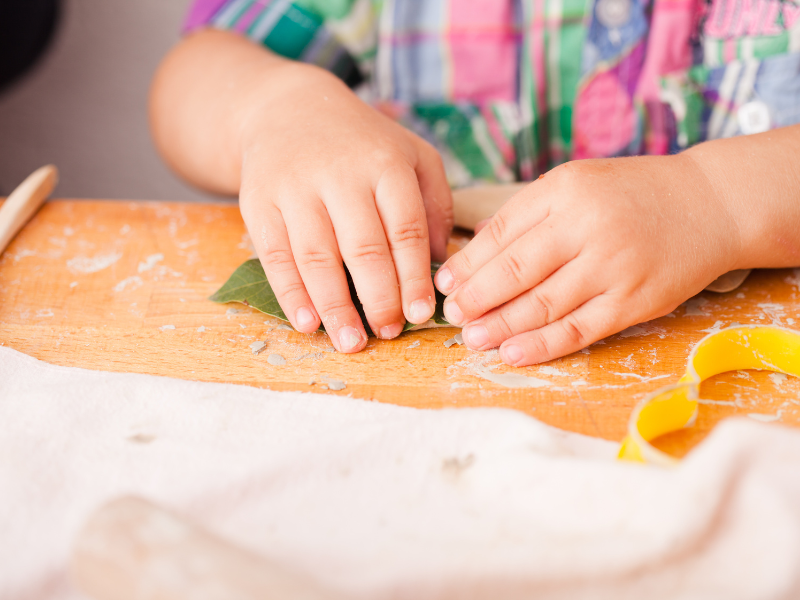
For families with young children or anyone young at heart, edible modelling clay provides a dual purpose: art and snack time.
This peanut butter and honey-based recipe creates a dough that’s fun to shape and delicious to eat. It’s an excellent way to introduce kids to the joys of crafting, with the added benefit of being completely safe to taste.
Ingredients
- 1 cup of smooth peanut butter
- 2 cups of powdered sugar
- 1/2 cup of honey
Instructions
- In a mixing bowl, combine the peanut butter and honey.
- Gradually add powdered sugar while mixing.
- Once you reach a dough-like consistency, knead the mixture until smooth.
- Your edible modelling clay is ready for fun and snacking.
Advantages
- Safe to Eat: Ideal for young children who may be tempted to taste their creations.
- No Special Storage: No need for airtight containers; simple storage solutions work.
- Interactive: Combines the fun of crafting and snacking into one activity.
- Allergen Control: You can control the ingredients to avoid allergens.
Disadvantages
- Not Long-Lasting: Will spoil over time and isn’t suitable for long-term projects.
- Limited Structural Integrity: Not ideal for complex or heavy structures.
- Caloric: While tasty, it’s not the healthiest option for frequent snacking.
FAQs
Certainly! Food coloring or acrylic paint can be added to the mixture during kneading to create vibrant colors. You can also paint the surface once it’s dry for water-based clay.
Store oil-based clay in an airtight container or wrap it tightly in plastic to keep it pliable. Water-based clay should also be stored in an airtight container if you plan to use it before it dries.
Drying time can vary based on the thickness of your creation and the humidity in the environment. However, a thin sculpture usually takes 24 to 48 hours to dry completely.
Homemade clay is excellent for educational settings. It can be used for teaching shapes, colors, and even basic chemistry principles when discussing the ingredients and the changes they undergo when mixed and heated.