Crafting with children is more than just a fun pastime; it’s a fantastic opportunity for them to express their creativity and develop their fine motor skills. One of the most accessible and versatile crafting materials is the humble toilet paper roll.
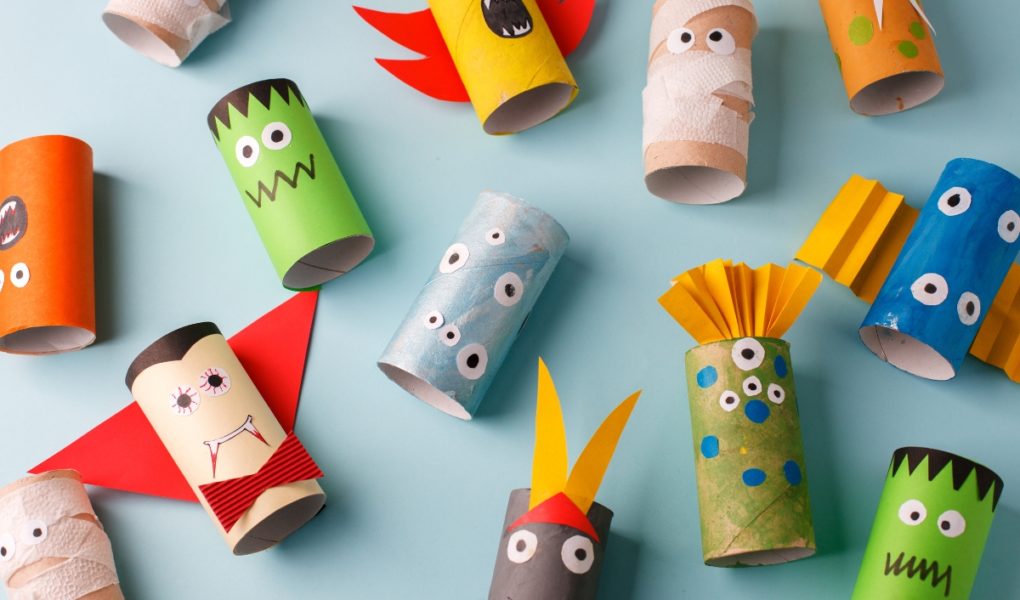
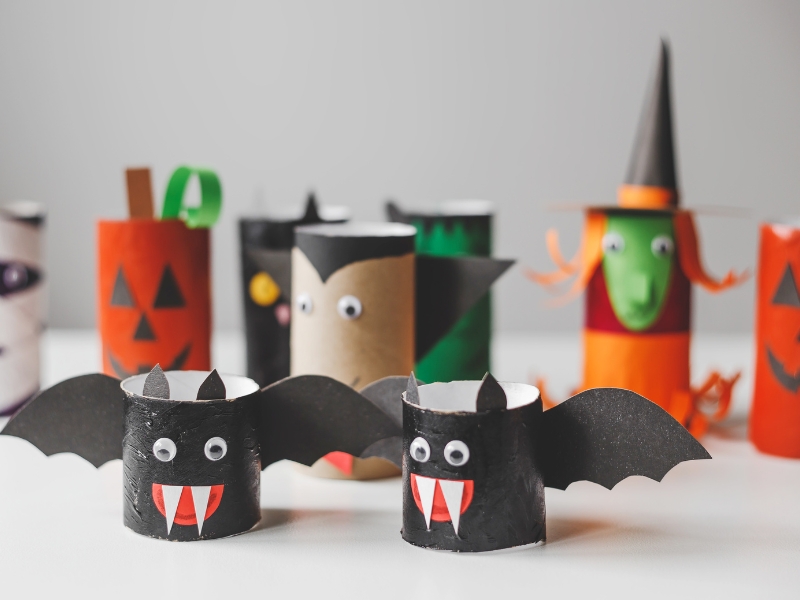
With just a few additional supplies and a dash of imagination, these cardboard tubes can be transformed into a delightful array of monsters. Here’s a step-by-step guide on how to create your very own toilet paper roll monsters.
What Materials Do I Need to Make Toilet Roll Paper Monsters?
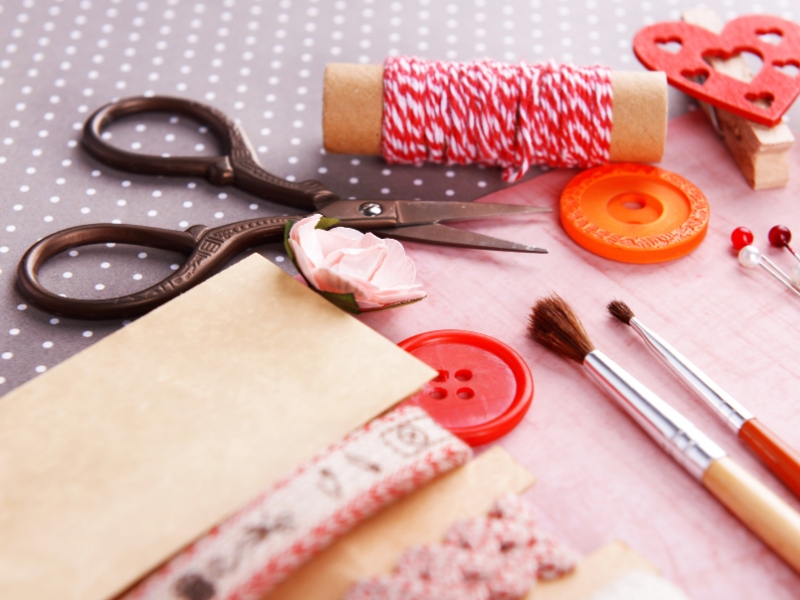
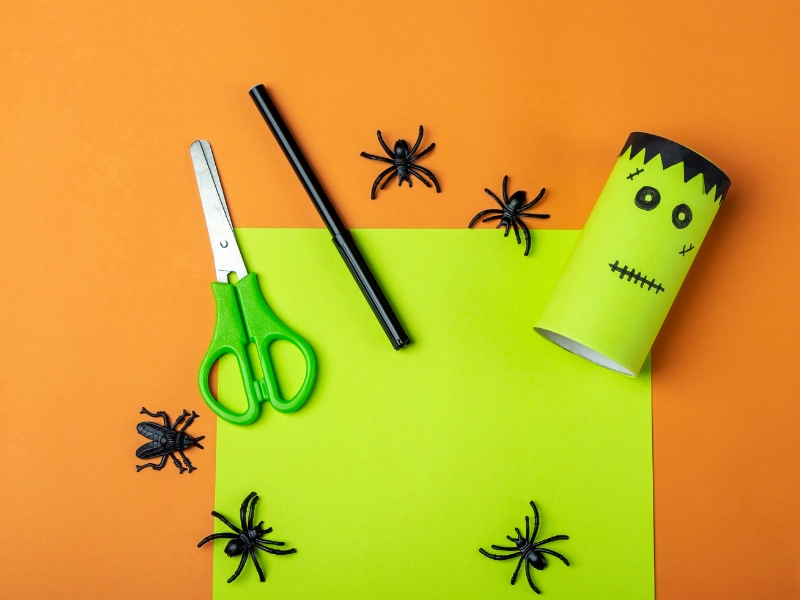
Creating these whimsical creatures from toilet paper rolls is a fun and inventive way to repurpose household items. Before you start, it’s essential to gather all the materials needed for this craft project. Here’s a list to help you prepare:
Materials List
- Empty Toilet Paper Rolls: The core material is the monster’s body.
- Paints: Assorted colors to bring your monsters to life with vibrant hues.
- Paintbrushes: For applying paint to the rolls smoothly and evenly.
- Construction Paper: Various colors for creating features like arms, legs, and ears.
- Glue: A solid adhesive to secure all decorations and parts together.
- Scissors: For cutting paper and other materials into shapes for monster features.
- Googly Eyes: To give your monster unique and expressive eyes.
- Pipe Cleaners: Flexible materials for creating arms, legs, antennae, or hair.
- Markers/Crayons: To draw on details like mouths, teeth, and any additional features.
- Decorative Items: Such as glitter, stickers, or pom-poms for extra embellishment and texture.
How to Choose the Right Paint?

Selecting the right paint for crafting toilet paper roll monsters is crucial for the look and the crafting experience.
- Acrylic Paints: Quick-drying and vibrant, great for a glossy and long-lasting finish.
- Tempera Paints: Kid-friendly, washable, and good for a matte look.
- Poster Paints: Easy to use with a matte finish, suitable for a quick project with kids.
- Watercolor Paints: Best for a translucent effect, but not as bright on cardboard.
Something to Keep in Mind:
- Opacity: Acrylics and temper as cover designs on rolls well.
- Drying Time: Acrylics dry fast, keeping the wait time short.
- Safety: Use non-toxic paints, especially for kids.
- Clean-Up: Water-based paints like tempera and poster paints are easier to clean.
Choose based on the desired finish, drying time, and ease of clean-up.
Step by Step Instructions
Step 1: Paint Your Monsters
Begin by painting the toilet paper rolls in the colors of your choice. Monsters come in every color of the rainbow, so feel free to experiment with bright, bold hues or mix paints to create your own unique shades.
Allow the paint to dry completely before moving on to the next step. This could take a few hours, so patience is key!
Step 2: Cut Out Limbs and Features
While the paint dries, start creating the monster’s features. Cut out strips of construction paper for arms and legs—zigzag patterns can make them look more monstrous.
Also, cut out shapes for ears, wings, or any other features you think your monster might have. Feel free to play with the shapes and sizes!
Step 3: Add Facial Features
Once the paint is dry, it’s time to give your monster a face. Glue on googly eyes, or create eyes from construction paper if preferred.
You can make your monster look friendly or fearsome depending on the size and placement of the eyes. Using markers or crayons, draw on mouths, noses, or any other facial features you like.
Step 4: Attach Limbs and Accoutrements
Now it’s time to bring your monster to life by adding all the limbs and features you’ve created. Glue the arms and legs onto the roll. If you’ve made ears, wings, or horns, attach these now. For a three-dimensional effect, fold a small tab at the end of each limb to help it stick more securely to the roll.
Step 5: Embellish Your Monster
Use your extra craft supplies to give your monster some personality. Add pom-poms for a textured nose, use stickers for spots or scales, or make a mouth out of glitter.
Pipe cleaners can become wild, twisty hair or antennae. There’s no limit to how wild your monster’s features can be!
Step 6: Final Touches
With the glue dry, take a moment to review your monster. Does it need more color? More features? If it’s already perfect, then your work here is done. Your toilet paper roll monster is ready to join the ranks of your child’s homemade toy collection.
Tips for Success
- Stabilize Your Base: Ensure your roll has a flat bottom so your monster won’t tip over.
- Bright Base Layer: Paint your roll with a white base coat first to make colors pop.
- Size Matters: Vary the sizes of googly eyes for a fun, quirky look.
- Choose the Right Glue: A glue stick for paper, strong craft glue for heavier embellishments.
- Layer Wisely: Add features in stages, letting each dry before adding the next.
- Mix Textures: Combine different materials like fabric or foil for tactile variety.
- Safety First: Securely attach all pieces, especially if crafting with young kids.
- Embrace the Unique: Imperfect shapes and asymmetrical features add character.
- Prepare for Mess: Use a covered surface or craft mat for easy cleanup.
- Enjoy the Process: Focus on the fun of creation, not just the finished product.
Frequently Asked Questions
Answer: Children can enhance their creativity, improve fine motor skills, learn to follow instructions, and practice recycling by using everyday household items in a fun and artistic way.
Answer: This can vary based on paint type and thickness, but it generally takes a few hours. It’s best to allow the paint to dry completely before adding additional decorations.
Answer: They can be used as puppets for a play, decorative pieces for a themed party, a Halloween decoration, or as characters in a storytelling session. They’re versatile and can be integrated into a wide range of playtime activities.