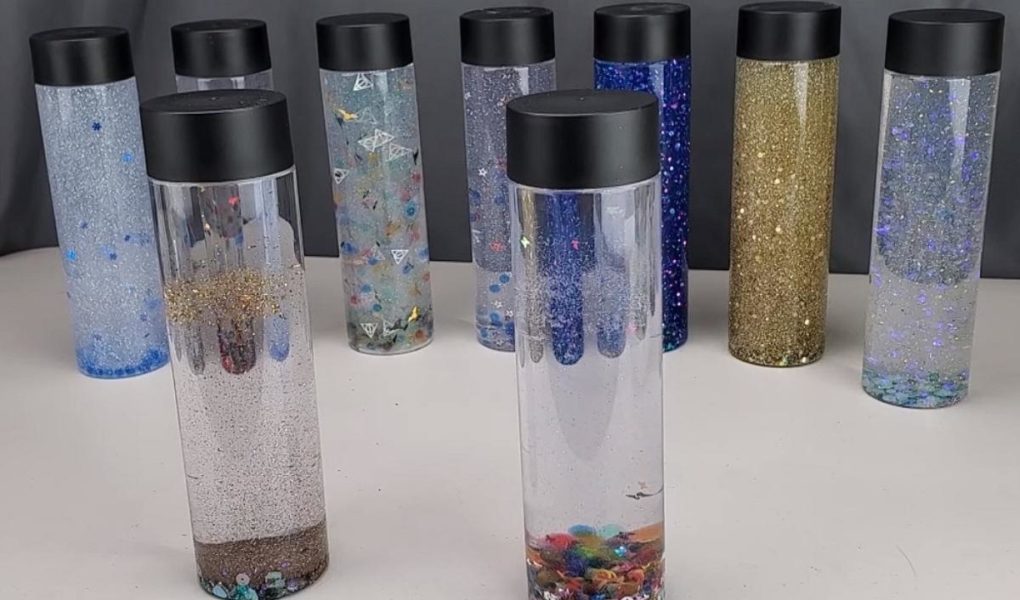
Stressful days and restless minds could use a bit of tranquility, and what better way to achieve it than by crafting your very own calming zen glitter jar? This simple yet effective DIY project is a piece of art and a relaxation tool.
By giving it a shake and watching the glitter swirl and settle, you can find a moment of calmness in an otherwise busy day. Here’s how you can make one for yourself or as a thoughtful gift for someone needing a bit of serenity.
Materials You Will Need
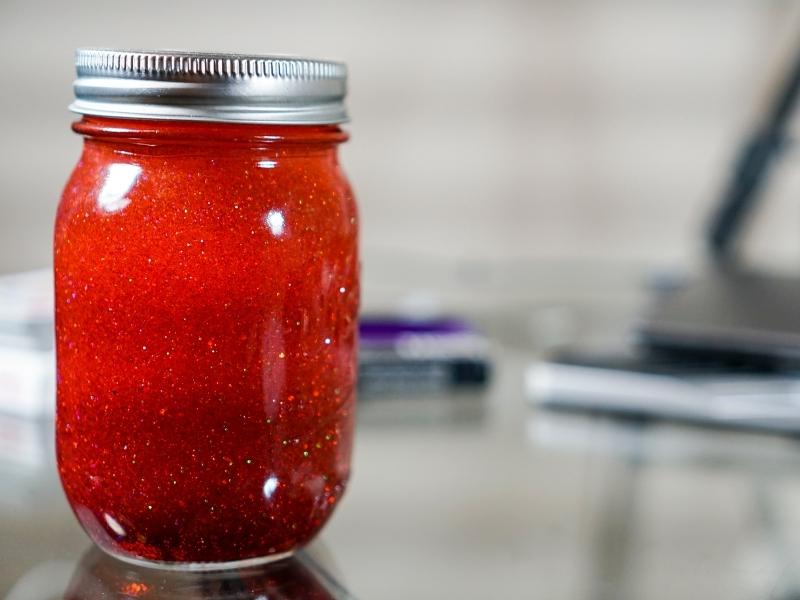
Before you start crafting your calming zen glitter jar, gather the following materials, each serving a specific function in the project:
- 1 Mason Jar or Any Clear Glass Jar with a Tight-Fitting Lid: Holds the mixture; clear and leak-proof.
- 2 to 3 Bottles of Clear Glue (About 170 to 255 Grams) to help you form a dense base for the glitter.
- Water: Balances the glue for better fluidity.
- Glitter in Multiple Colours and Sizes: Adds visual interest.
- Food Colouring (Optional): Enhances liquid colour.
- Super Glue or Hot Glue Gun: Ensures a tight lid seal.
- Measuring Cups and Spoons: For accurate measurements.
- Stirring Stick or Spoon to mix the ingredients.
How to Choose the Right Glue?
Choosing the right glue is critical in crafting your calming zen glitter jar. The type of glue you select impacts your project’s texture, clarity, and longevity.
Here are some factors to consider when making your choice:
- Non-Toxicity: Make sure the glue is non-toxic, especially if children will be involved in making or using the jar.
- Clarity: Opt for a clear glue to ensure the glitter and optional food colouring shine through.
- Viscosity: A more viscous glue will help suspend the glitter longer, creating a more mesmerizing effect.
- Ease of Mixing: Some glues are more straightforward to mix with water and other ingredients. Read reviews or test a small amount before committing to a particular brand.
- Setting Time: Consider how long it takes for the glue to set, especially if you plan to seal the jar permanently. Quick-setting options may be more convenient.
- Water-Solubility: Ensure the glue is water-soluble to make the mixing process more accessible and allow for possible future adjustments to the liquid mixture.
- Availability: Some specialty glues may be more complicated or expensive. Make sure the glue you choose is within your budget and easily accessible.
- Compatibility with Food Colouring: If you plan to add food colouring, ensure the glue you choose doesn’t react adversely.
Steps to Create Your Calming Zen Glitter Jar
Step 1: Preparation
First, gather all the materials and tools you’ll need. Place each item within easy reach so you can smoothly go from one step to the next.
If kids participate, ensure they know the jar is not a toy and should be handled carefully. Supervision is strongly recommended throughout the process.
Step 2: Mix Water and Glue
To half-fill the jar, pour clear glue into a measuring cup, roughly 170 to 255 grams. Mix an equal amount of warm water with the glue and blend until combined.
Step 3: Add Glitter
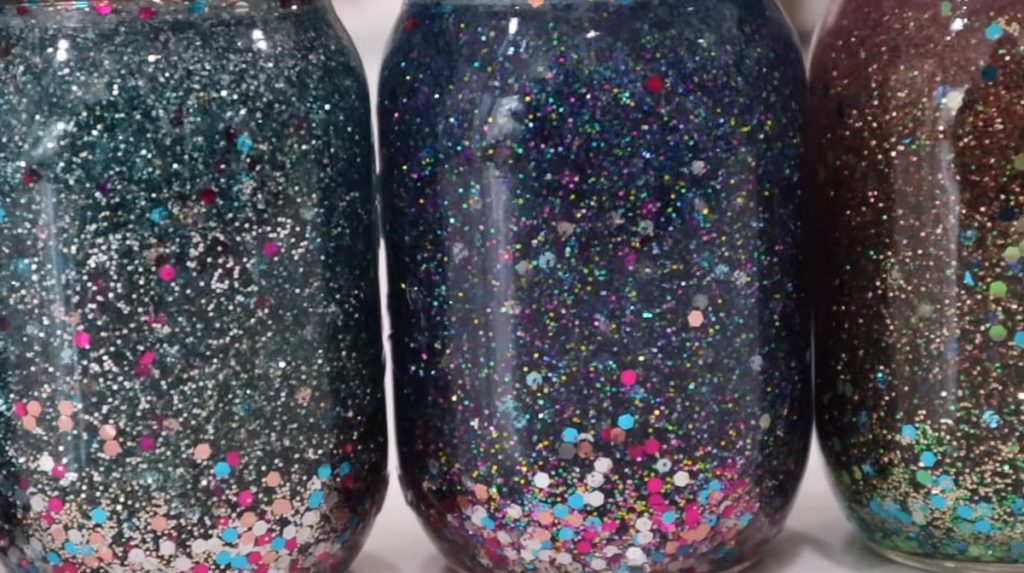
Now that your base liquid is ready add your chosen glitter. Aim for 1 to 2 tablespoons or more if you desire a denser effect. Mix the glitter into the liquid until it is evenly distributed.
Step 4: Customize with Food Colouring (Optional)
If you’re using food colouring, this is the time to add it. A drop or two will suffice. Mix until the colour is uniformly spread throughout the liquid.
Step 5: Combine Everything
Carefully pour the prepared mixture into your chosen jar. Leave some space at the top to allow for expansion and shaking.
Step 6: Secure the Lid
Place a saucepan or protective material on your work surface to catch any drips. Apply super glue or hot glue around the rim of the jar.
Then, tightly screw on the lid. Allow some time for the glue to set and create a leak-proof seal.
Step 7: Enjoy Your Calming Zen Glitter Jar
Shake the jar when you need to relax and watch the glitter swirl and settle.
Storing and Maintaining Your Zen Glitter Jar
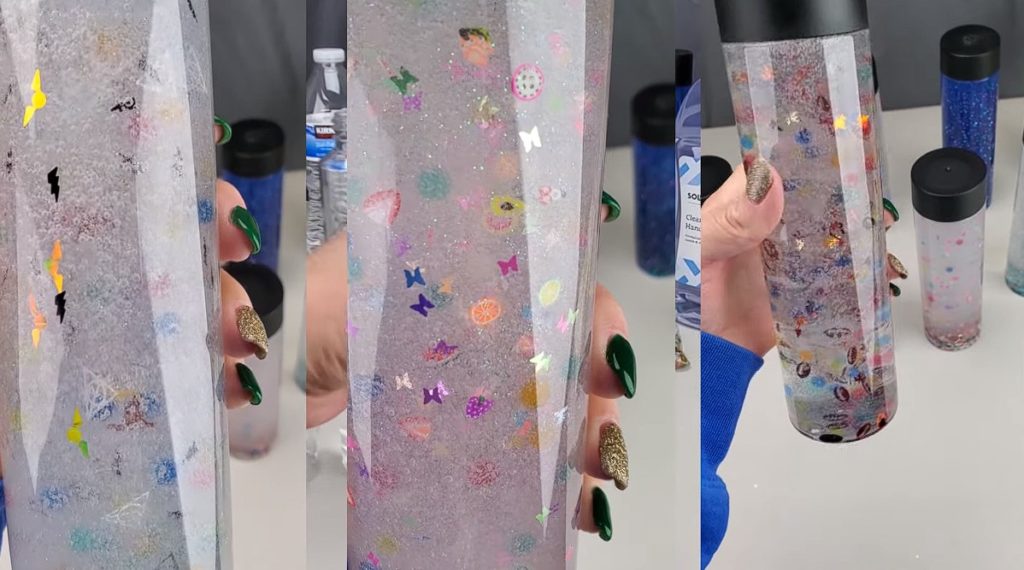
Proper storage and maintenance are essential for ensuring the longevity and effectiveness of your calming zen glitter jar. Here are some detailed tips:
Store in a Cool, Dry Place
Heat and humidity can affect the consistency of the glue and water mixture. Make sure to store your jar in a location that’s cool and free from moisture to preserve its quality.
Keep Lid Tightened
Ensure the lid is always tightly secured to prevent evaporation or leakage. If the jar has been used for some time and the lid becomes loose, consider re-gluing it to maintain a tight seal.
Regularly Check the Water Level
If you notice the liquid level diminishing, replenish it with warm water. Maintaining the liquid level is important for the glitter to float effectively.
Deal with Clumping
If the glitter starts to clump together after some time, add a drop or two of liquid dish soap. Shake well to distribute the soap and break apart the clumps.
Occasional Refreshing
After extended use, you may find that the liquid becomes cloudy or the glitter loses its shine. In such cases, you can empty the jar, clean it thoroughly, and remake the glitter mixture to restore its original beauty.
Keep Away from Direct Sunlight
Exposure to direct sunlight can fade the colours of the glitter and even cause the liquid mixture to separate. Store the jar away from windows or where it might receive direct sunlight.
Frequently Asked Questions
Answer: Yes, tap water can be used, although warm water is generally easier to mix with the glue.
Answer: Generally, yes, but always supervise children when making or using the jar. Make sure the lid is securely fastened to prevent spills.
Answer: If the liquid becomes cloudy or the glitter loses its shine, you may empty the jar, clean it, and remake the mixture.
Answer: Besides being a fun craft project, it serves as a mindfulness tool that can help calm the mind when shaken, as the glitter swirls and slowly settles.
